# Self Host
7/4/2025
BYE GOOGLE DRIVE: HOW TO INSTALL UNRAID AND SELF-HOST LIKE A BOSS
🧰 Bye Google Drive: How to Install Unraid and Self-Host Like a Boss
Sick of giving your files to Big Tech? Want total control over your storage, backups, and even media streaming? Unraid turns any old PC into your own private cloud — here’s how.
☁️ Why Self-Host Instead of Using Google Drive or Dropbox?
Let’s be real — cloud services are convenient, but they come with trade-offs:
- 🕵️♂️ Privacy? Nope. Your data lives on someone else’s server, and they can scan or snoop.
- 💸 Monthly fees that add up fast if you need more than a few gigs.
- 🔐 Limited control over security, access, or how data is stored.
Enter: Unraid
Unraid is a Linux-based OS for self-hosting NAS (Network Attached Storage), containers, media servers, virtual machines — all from one box.
It’s:
- Super customizable
- Beginner-friendly (great web UI)
- Powerful AF once you grow into it
🛠️ What You’ll Need
- A PC or server (even old hardware works)
- At least one storage drive (more = better)
- A USB stick (1GB or more)
- A separate device to access the web interface (laptop/PC)
- Network connection (Ethernet recommended)
1. 🔽 Download Unraid USB Creator Tool
Go to the official site:
👉 https://unraid.net/download
Download and install the Unraid USB Creator for your operating system.
🖼️ Image: Unraid download page
Image by Unraid, CC BY-SA 4.0

2. 💾 Create a Bootable USB Drive
- Launch the USB Creator tool.
- Choose the latest Unraid version.
- Pick your USB device from the list.
- Give your server a name (hostname).
- Click Write to flash Unraid onto your USB stick.
3. 🧼 Set Your BIOS to Boot from USB
Plug the USB into your server, boot it up, and immediately enter BIOS (usually DEL, F2, or F12).
Set the USB drive as the primary boot device.
🖼️ Image: BIOS boot priority example
Image by TheArcticBlues, CC BY-SA 4.0

4. 🚀 Boot into Unraid and Access the Web UI
Unraid runs headless (no monitor required after setup). Once booted:
- Go to a browser on another device
- Visit:
http://tower.local
(or check your router for its IP address)
You’ll land on the Unraid dashboard.
5. 🔑 Set Up Your Array and Storage
Once logged in:
- Assign drives to the Array (main storage pool).
- Assign a Parity Drive (optional but recommended for redundancy).
- Start the array and format the drives.
- Boom — your NAS is live.
6. ⚙️ Configure Shares and Access
Go to the Shares tab to create folders like:
/Media/Backups/Documents
You can enable:
- SMB (Windows file sharing)
- NFS
- FTP
- Time Machine backups for macOS
7. 📦 Install Community Apps (Docker Heaven)
Click on the Apps tab (install the Community Applications plugin if it’s missing).
This is where the fun begins:
- Nextcloud – your Google Drive alternative
- Plex or Jellyfin – stream your movies & shows
- qBittorrent or Deluge – private torrent client
- WireGuard – VPN into your home server
- Vaultwarden – self-hosted password manager
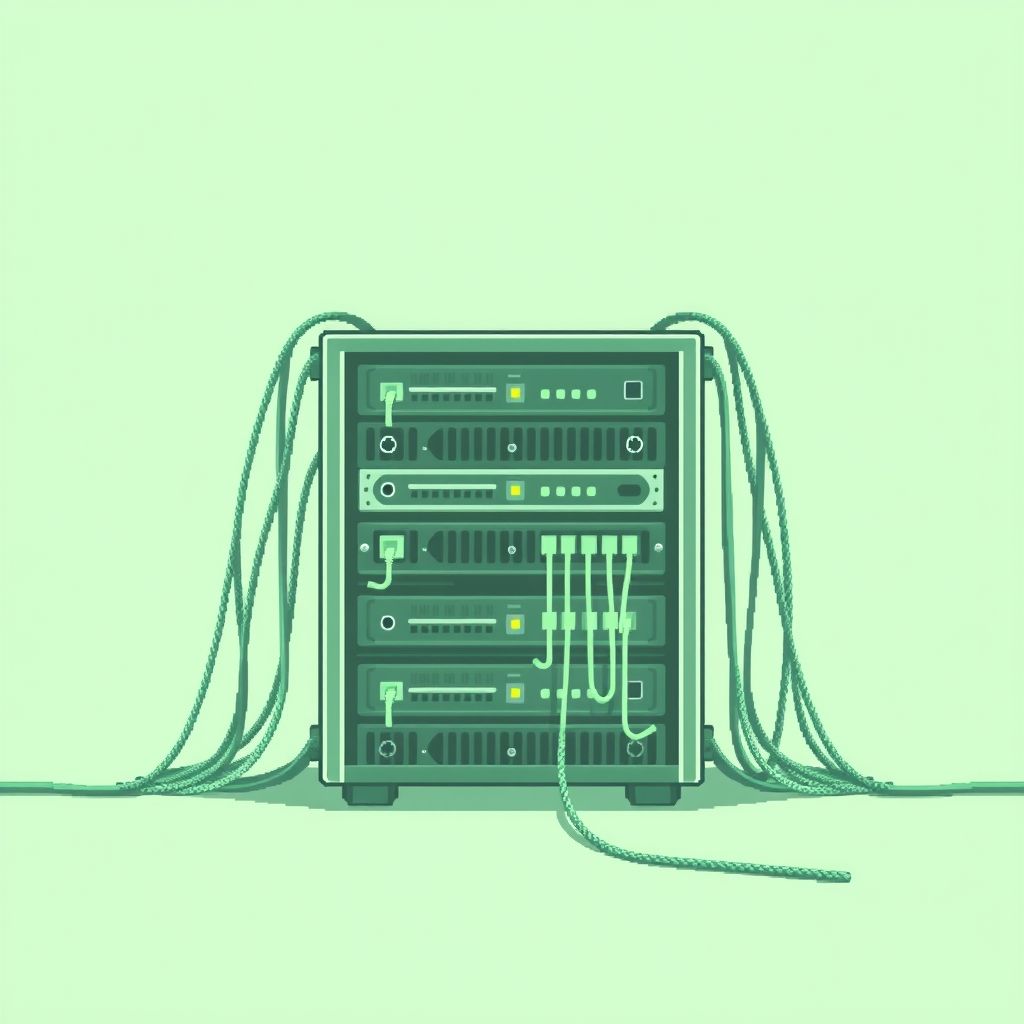
🖼️ Image: Unraid web interface showing array + apps
Image by Unraid, CC BY-SA 4.0

🔐 Bonus Privacy Tips
- Use a VPN to access Unraid remotely instead of exposing ports to the open internet.
- Keep Unraid updated for the latest security patches.
- Use strong passwords + SSL for the web UI.
- Back up your USB config to restore in case of corruption.
🎉 You Now Own Your Data
Congrats — you’ve officially taken your first step into self-hosted freedom.
Unraid makes it easy to run your own private cloud, stream your media, automate backups, and stop giving your digital life to Big Tech.
Next up? Maybe self-hosting Nextcloud for Dropbox-style syncing, or setting up Vaultwarden to ditch cloud-based password managers. Stay tuned.